Everything seems perfect on the road until you press the brake pedal, and instead of a smooth stop, you're met with a spine-tingling screech and a shaky ride.
Your vehicle's brake rotors might be trying to tell you something - it's time for a change. In today's guide, we won't just teach you how to change your brake rotors. We'll also take you on a journey into the heart of your vehicle's braking system so you understand it and its ins and outs.
First Gather The Tools and Materials
Before you embark on this DIY adventure, you'll need to assemble your arsenal of tools and materials. From jack stands to lug wrenches and the all-important replacement brake rotors, we've got your checklist ready.
Step 1: Elevate and Stabilize Your Vehicle
Safety first! We'll guide you through the proper procedures for jacking up your vehicle and securing it on jack stands. You'll also learn how to chock the wheels to prevent any unexpected movement.
Step 2: Remove the Wheels
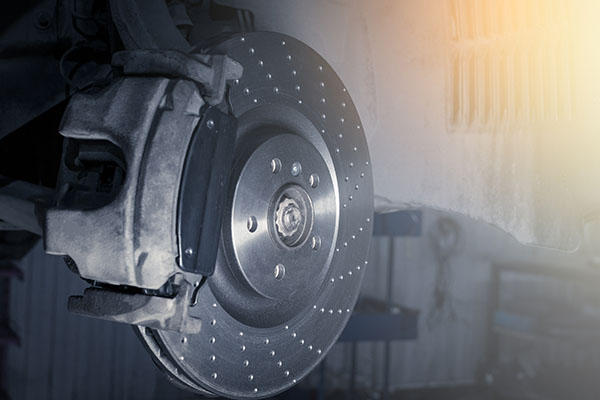
Time to get hands-on. Learn how to use your lug wrench to carefully remove the wheels, revealing the brake rotors, calipers, and pads beneath.
Step 3: Loosen and Remove the Calipers
We'll show you how to access the brake rotors by carefully removing the calipers. Remember, it's crucial to support the calipers to avoid damaging the brake lines.
Step 4: Inspect and Remove the Old Brake Rotors
Now that you've got access, it's time to inspect your old brake rotors. We'll teach you how to check for wear and warping, which are common signs of rotor replacement. Then, we'll guide you through the removal process.
Step 5: Install the New Brake Rotors
It's time for the exciting part - installing the shiny new brake rotors. We'll explain the importance of cleaning the new rotors, positioning them correctly, and securing them in place.
Step 6: Reassemble the Calipers and Pads
With the new rotors in place, you'll need to reattach the calipers and pads. We'll provide step-by-step instructions to ensure a snug fit.
Step 7: Put Your Wheels Back On
Don't forget the finishing touch! Learn how to reattach the wheels securely, and we'll provide tips on proper lug nut tightening.
Step 8: Lower Your Vehicle
It's time to bring your vehicle back down to earth. We'll guide you on safely lowering your car from the jack stands.
Step 9: Test Your Brakes
The moment of truth has arrived. We'll walk you through the process of testing your new brake rotors to ensure they're functioning correctly.
And that's it! You changed your vehicle's rotors all on your own! If you are having issues with the process or a professional's hand is needed, reach out to Austin's Automotive Specialist, and we will be more than happy to help!